the ultimate guide on HOW TO GET STARTED WITH WEBFLOW TEMPLATES
Intro
If you’re new to Webflow, choosing, purchasing, and customizing your first Webflow Template can be quite overwhelming. However, starting a website build from a Webflow Template, shouldn’t be challenging, so here’s a deep dive into how to get started with Webflow Templates. As an Official Webflow Template Designer, we’re keen on designing contemporary, functional, and easily editable Webflow Templates, that allow you to create your websites or your client ones with ease in mind.
In this comprehensive guide on how to get started with Webflow Templates, you’re gonna learn the ins and outs of Webflow Templates and how to get the most out of them, by leveraging all Webflow’s capabilities.
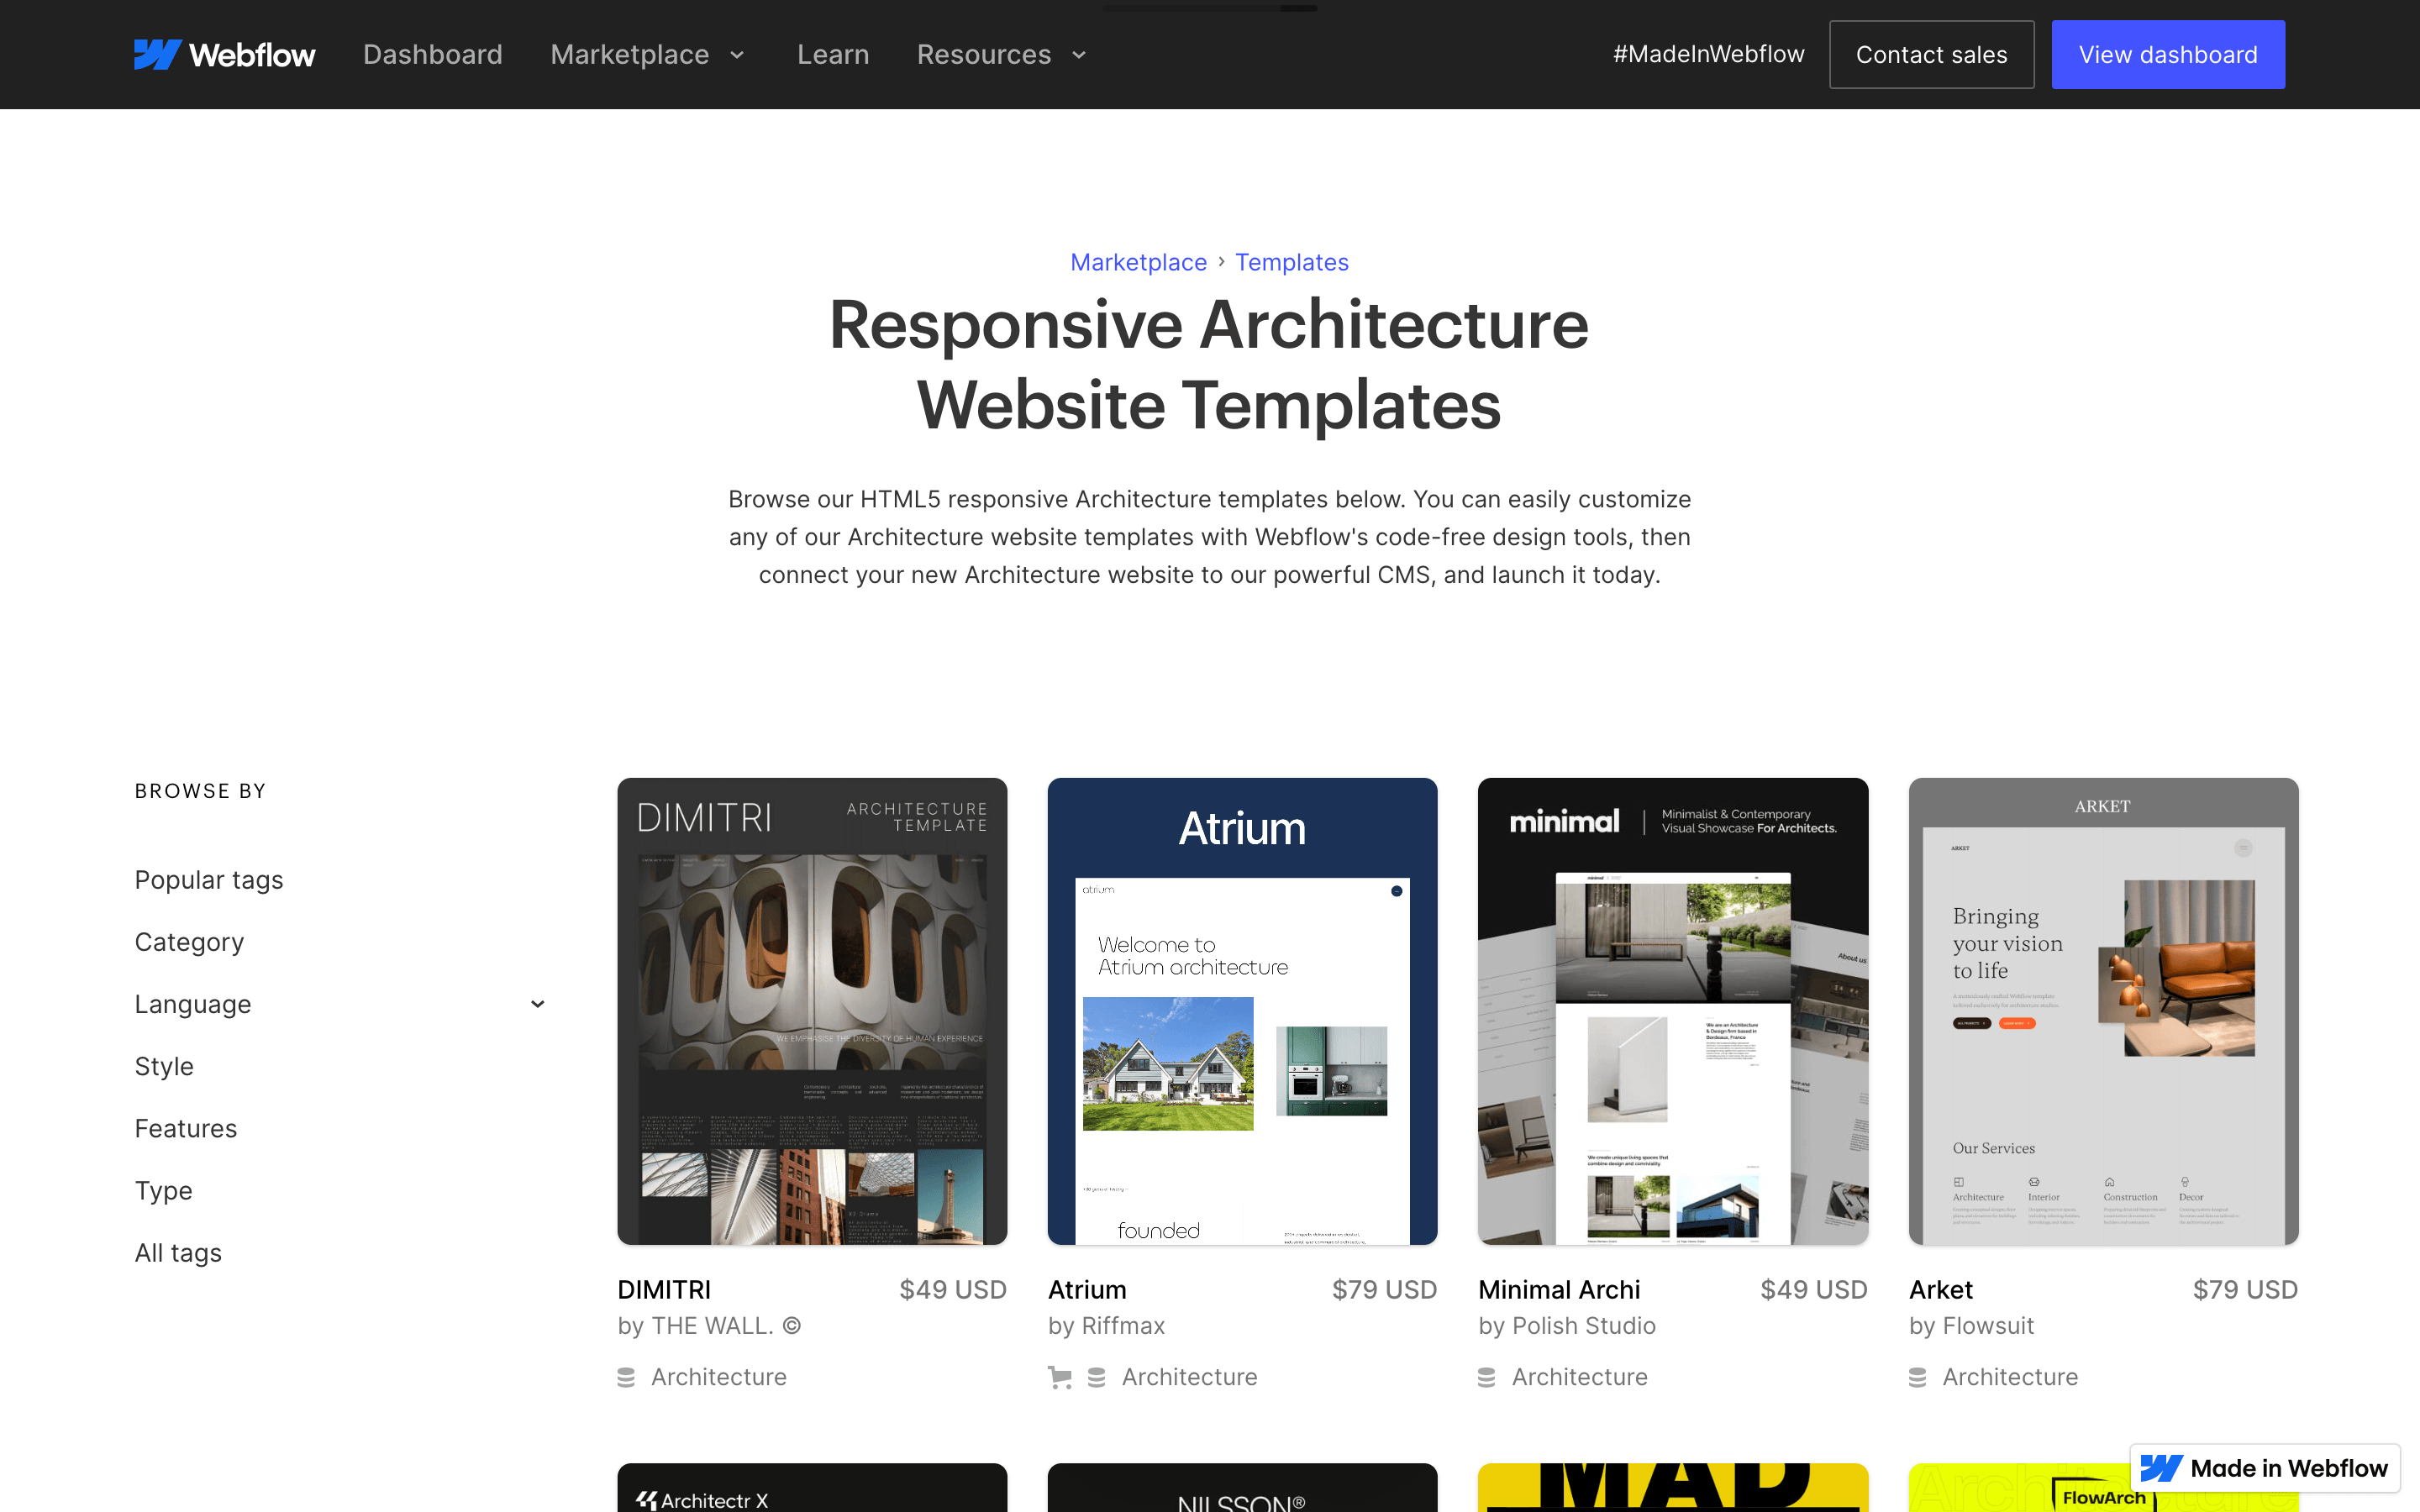
But, what are Webflow Templates?
Webflow Templates are HTML website templates, built and designed by Professional Webflow Experts. For a website to be sold as a Webflow Template on the Official Webflow Marketplace, the template needs to be approved by Webflow through their QA (Quality Assurance) Process, and the Studio, Freelancer, or Agency, has to be accepted by Webflow into their exclusive Template Designer Program.
Currently, at the point of writing this article, there are just a little over 180 approved and vetted Official Webflow Template Designers in the whole world, that are building out the future of website templates.
Where do Webflow Templates fit into the market?
Webflow Templates are Quality-First Website Templates with prices currently ranging from $34 to $129. They are a very budget-friendly alternative to traditional web design and development services and offer an easy-to-edit website, for a fraction of the price of hiring a professional studio, agency, or freelancer, as hiring a professional studio in our case can cost you up from 12k.
Our Webflow Templates are high-end Professional HTML Websites designed and developed with professional businesses in mind. We’re trying to design templates, that are out of the box and wouldn’t be normally experienced as a Website template due to its Visually Striking Design, high-end interactions/animations deep thought-through functionality, and versatility in use.
How to use Webflow Templates?
First Purchase your Webflow Template
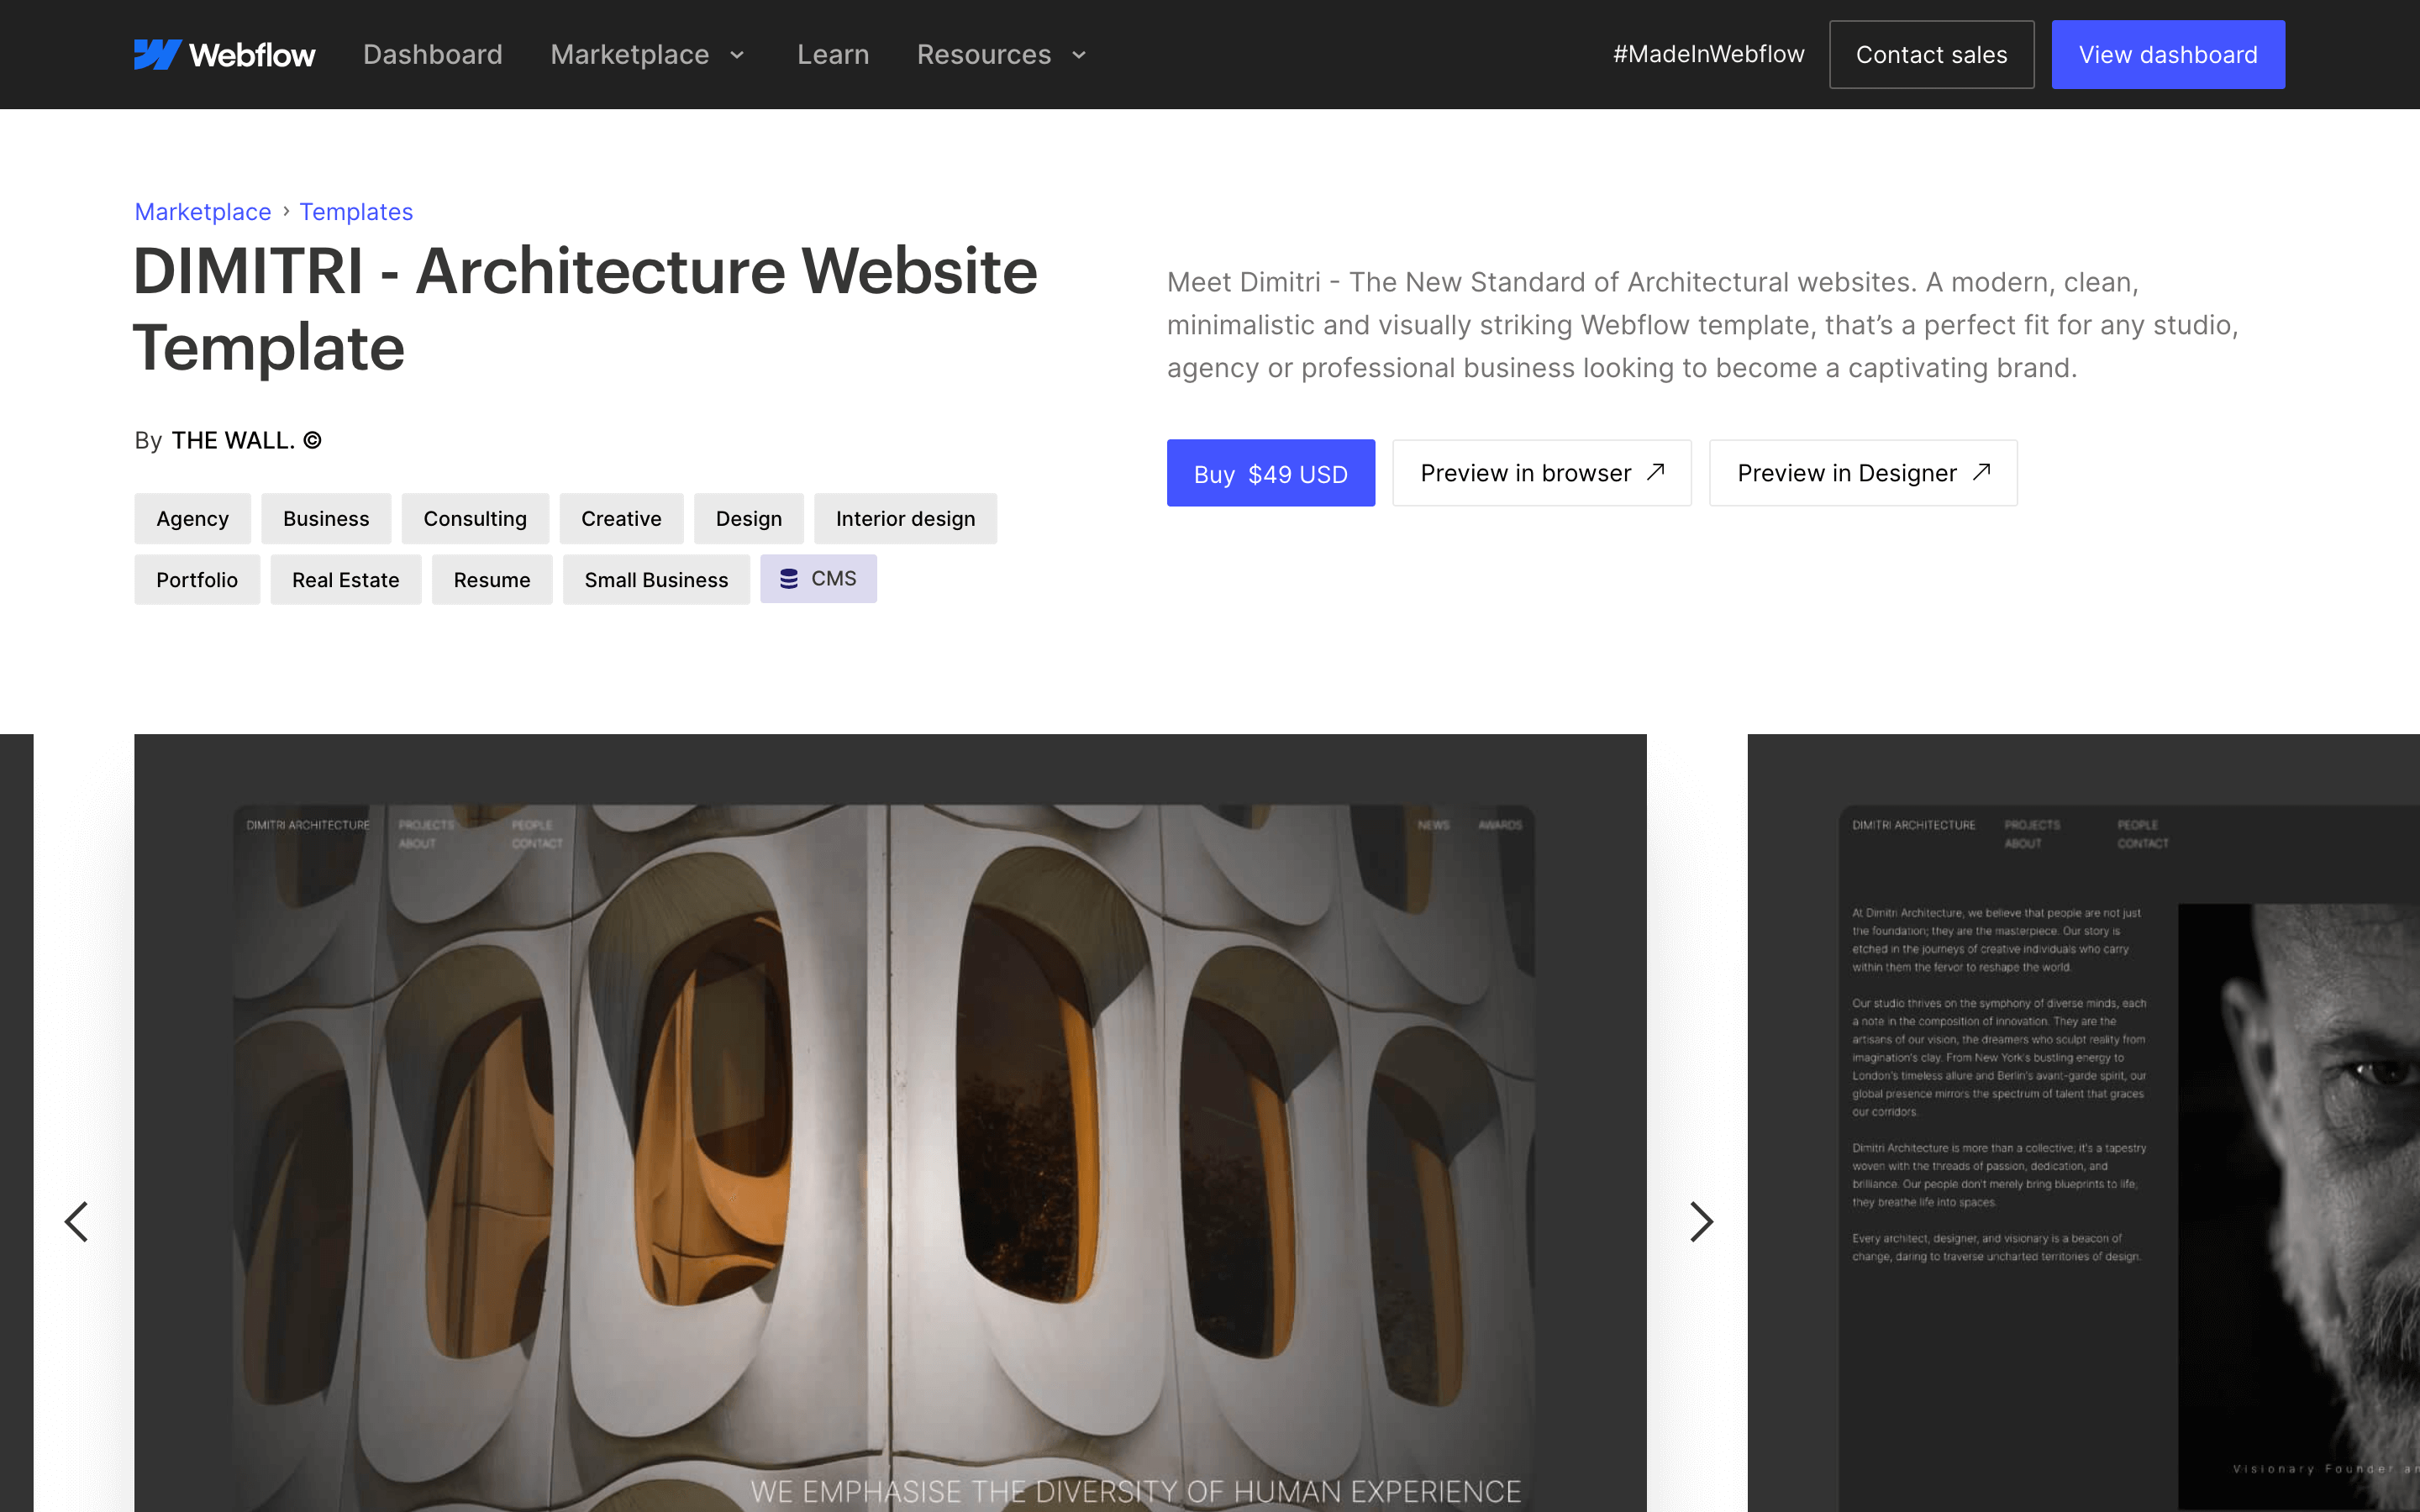
Head towards the Webflow Template Marketplace, find your preferred Template (either via search, category tags, or latest published templates), and purchase the template. Once you click, that you want to purchase a Template, you’ll first need to create a FREE Webflow Account. Once the template is purchased, it will be moved into your Personal Dashboard.
Duplicate the template for backup
Before customizing anything or changing any of the settings, duplicate your purchased Template, so you’ve got an Original Template File inside of your dashboard. That could come in handy in the future.
Let’s change the website settings
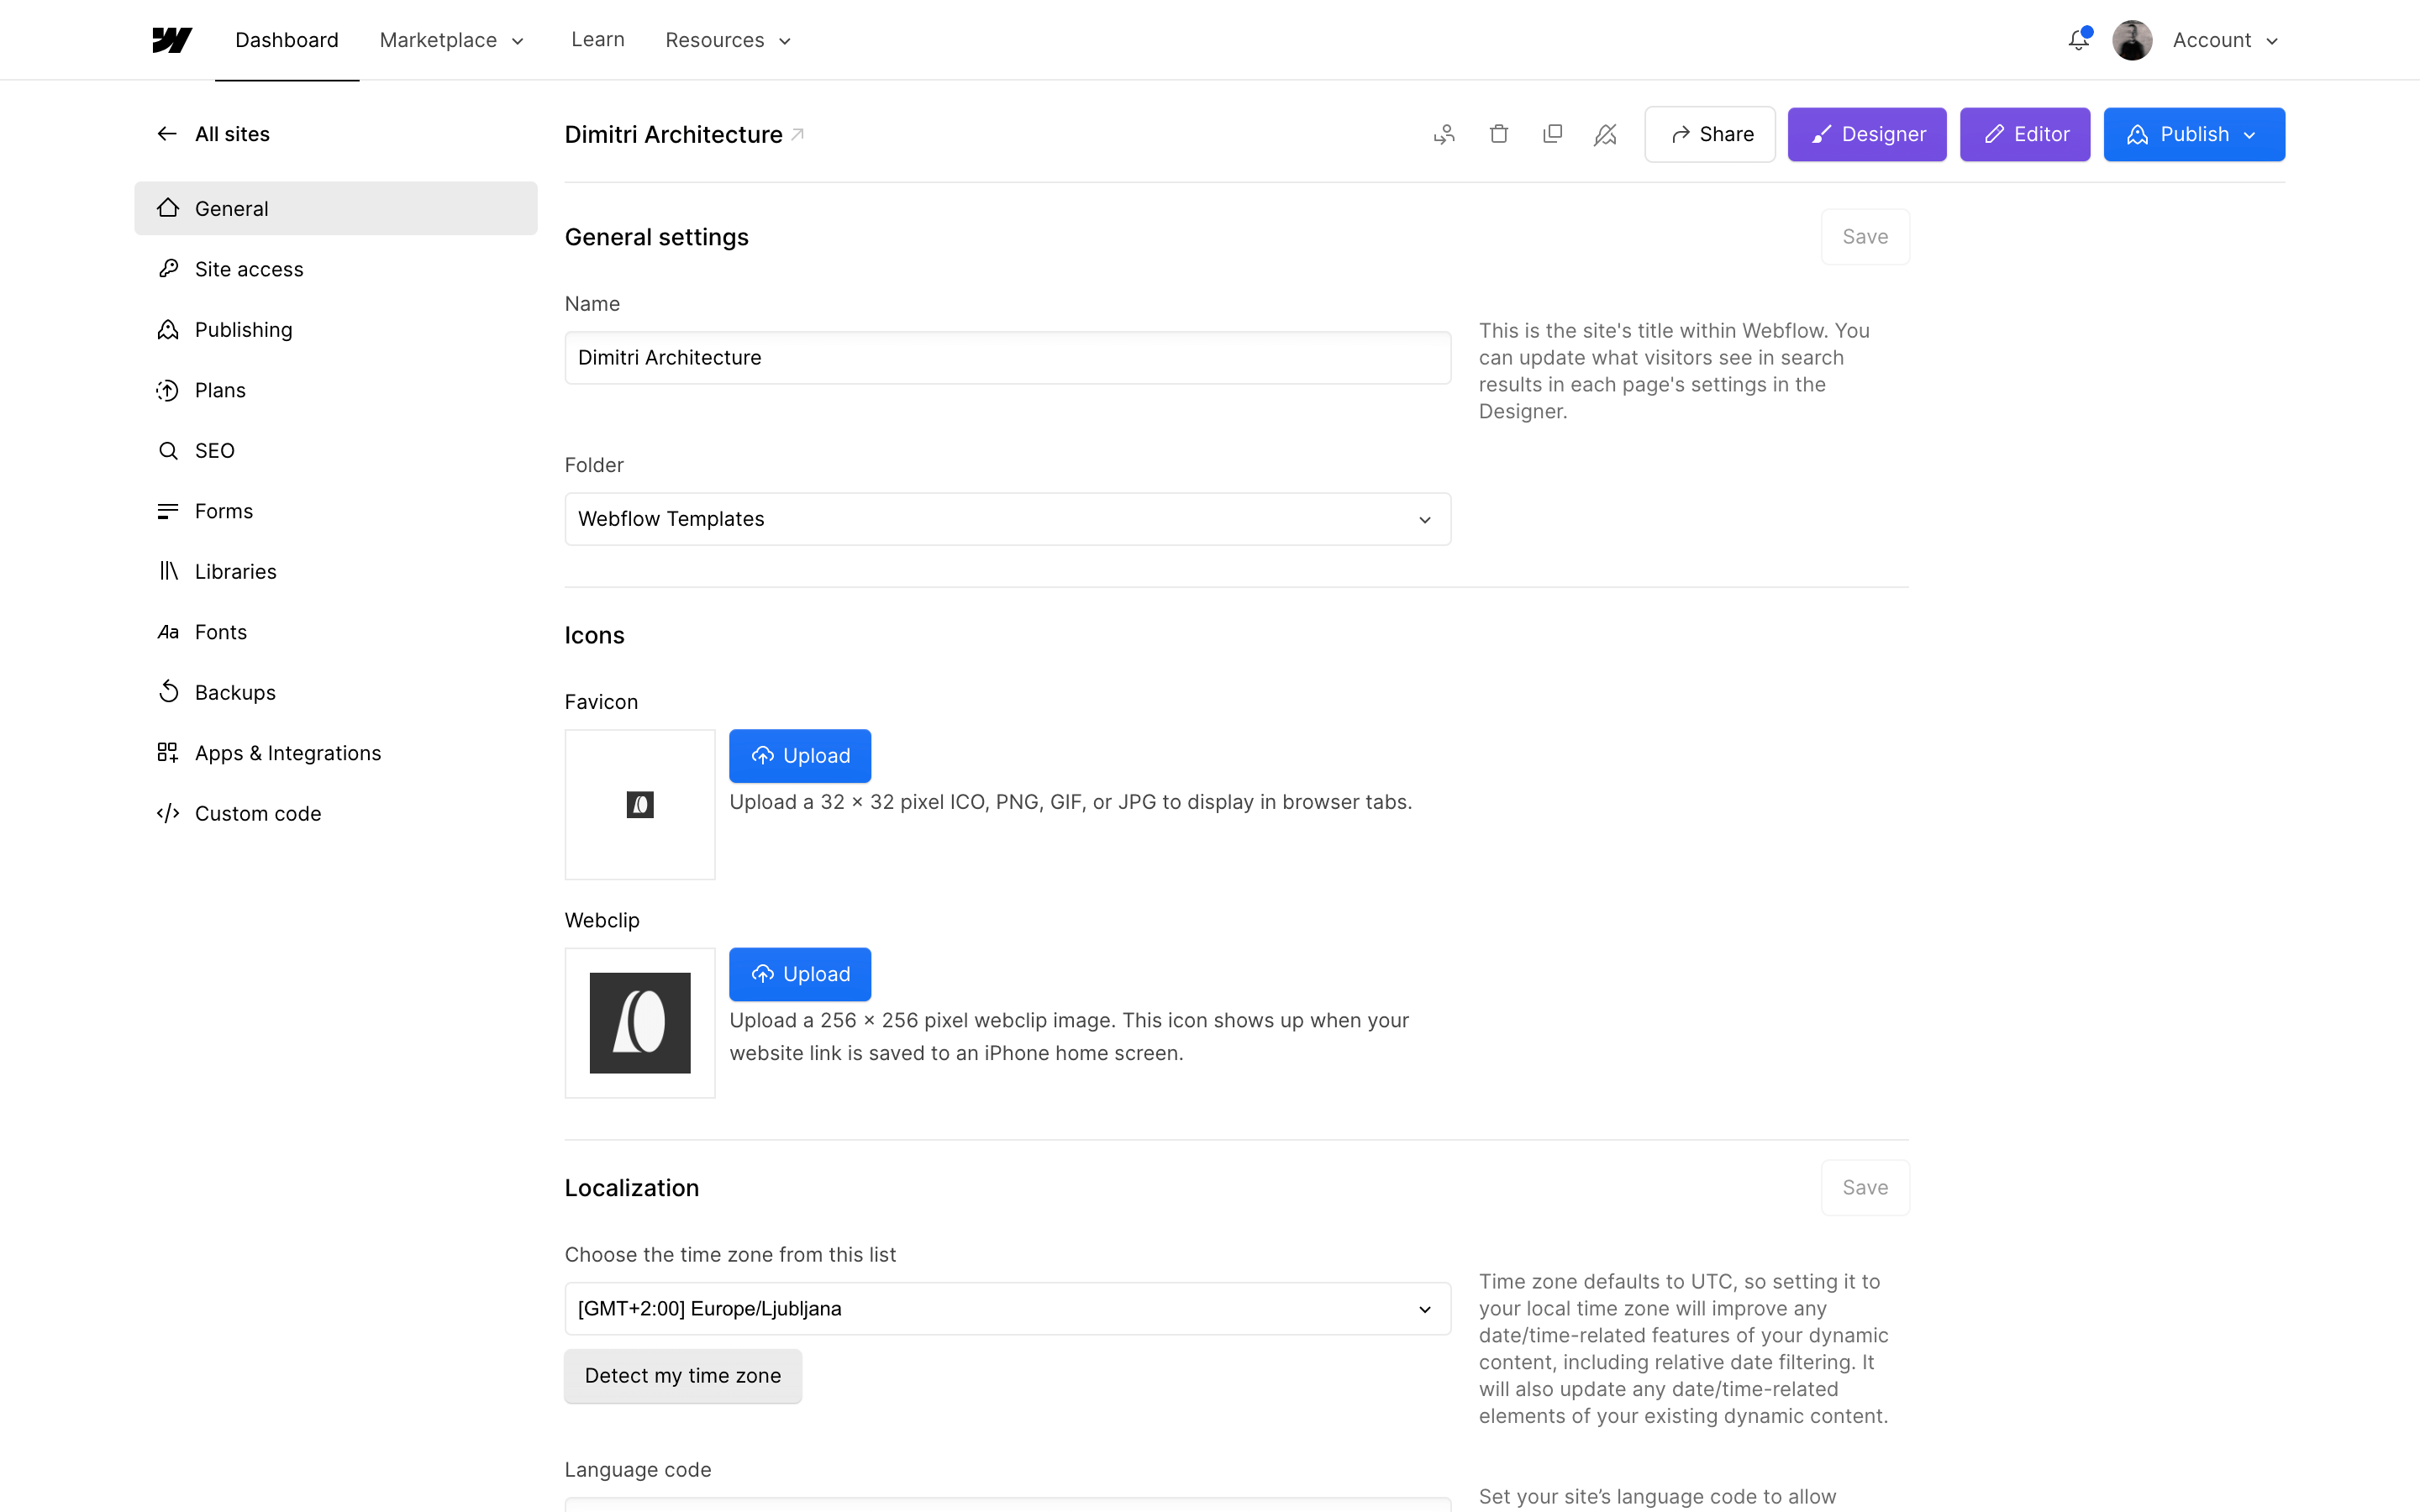
First let’s change the general settings, write your website's name, and add a custom Favicon and Webclip. Now let’s set up Form Settings, and write an email of choice (this email will be used to forward all form submissions on your website), if you want and have the technical know-how on how to enable recaptcha validation, you can also do this at this point.
Edit your Style Guide and read the Instructions
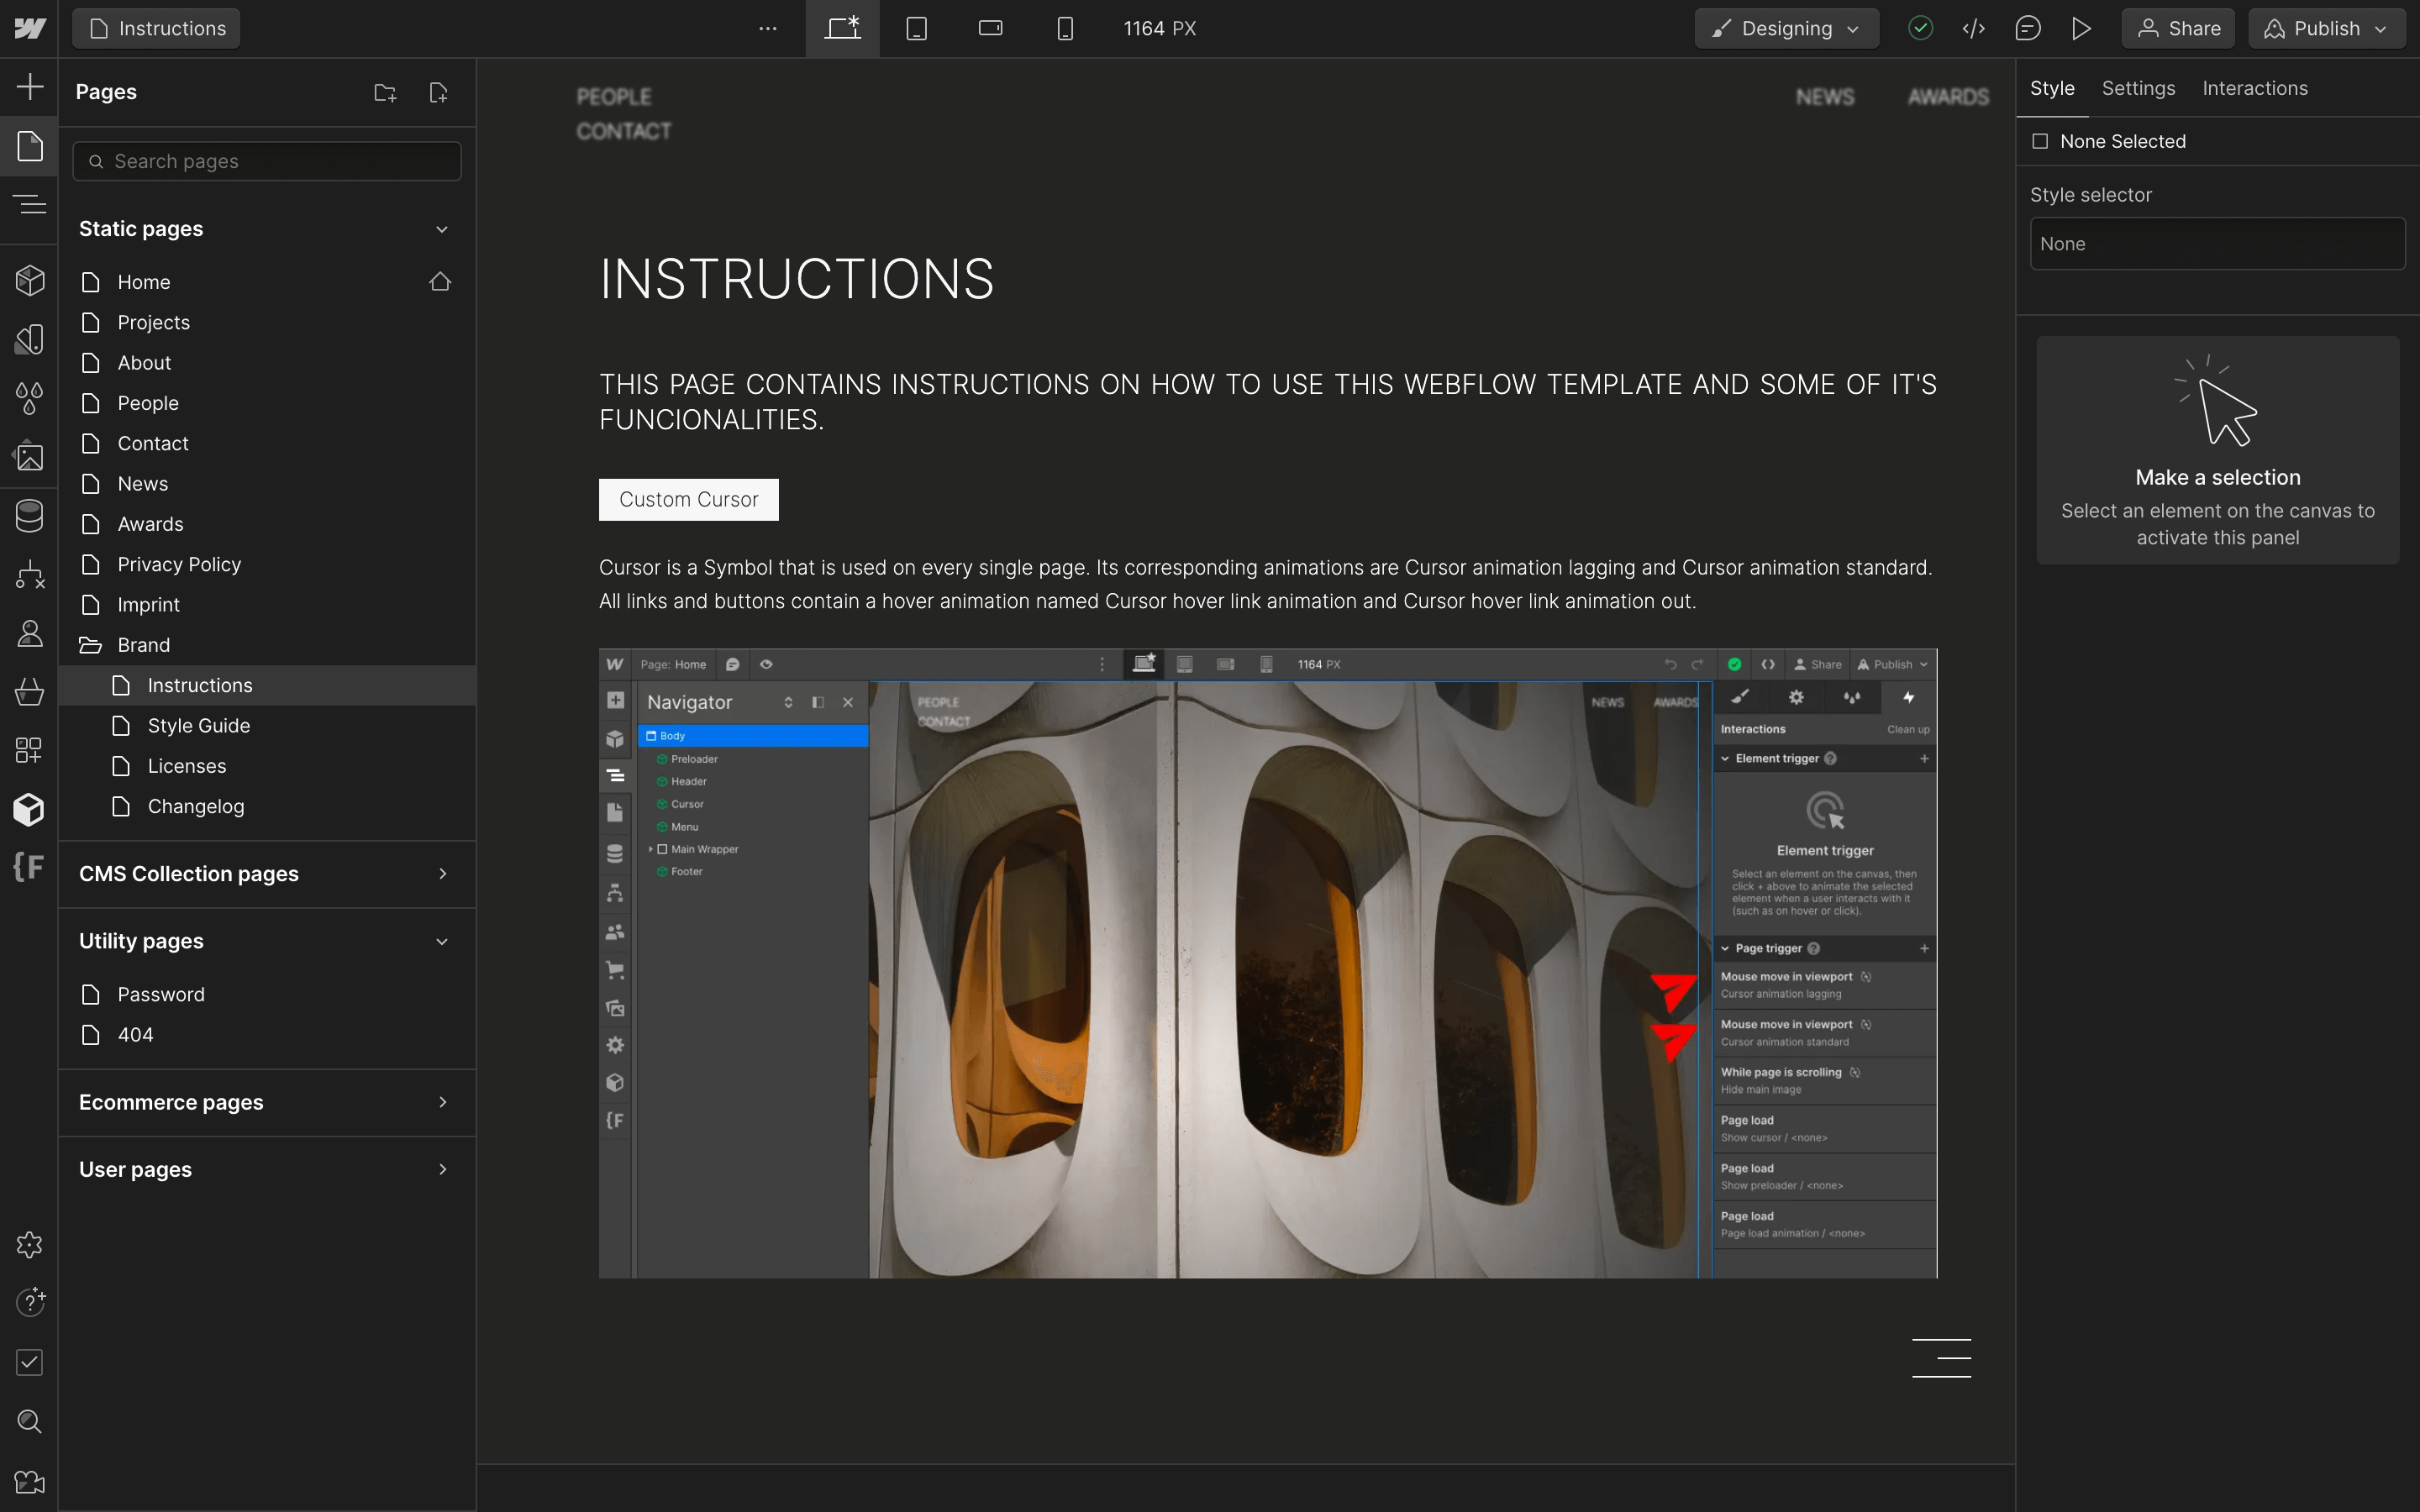
Move into the Webflow Designer and select the Instructions Page. Carefully read the instructions so that you get the most out of your new Webflow Template. Once you’ve read the instructions, select the Style Guide page and start your website customization here. Here you can update elements with your brand colors, fonts, and styles. You can find the Styleguide Page inside the folder named Brand.
Save unused pages as draft pages
Select all pages that you won’t be using and save them as drafts inside their page settings, so that they won’t be crawled by web crawlers. If you’ve purchased a Webflow Template with several layouts, you can also repurpose those, change the CMS Collection Settings, and use them as you please.
Edit Static Content
Editing static pages is extremely easy and can be done either via The Webflow Designer or The Webflow Editor. Rewrite the text to your liking, change the visuals (images, videos, etc …), and don’t forget to change your links.
Edit Dynamic Content
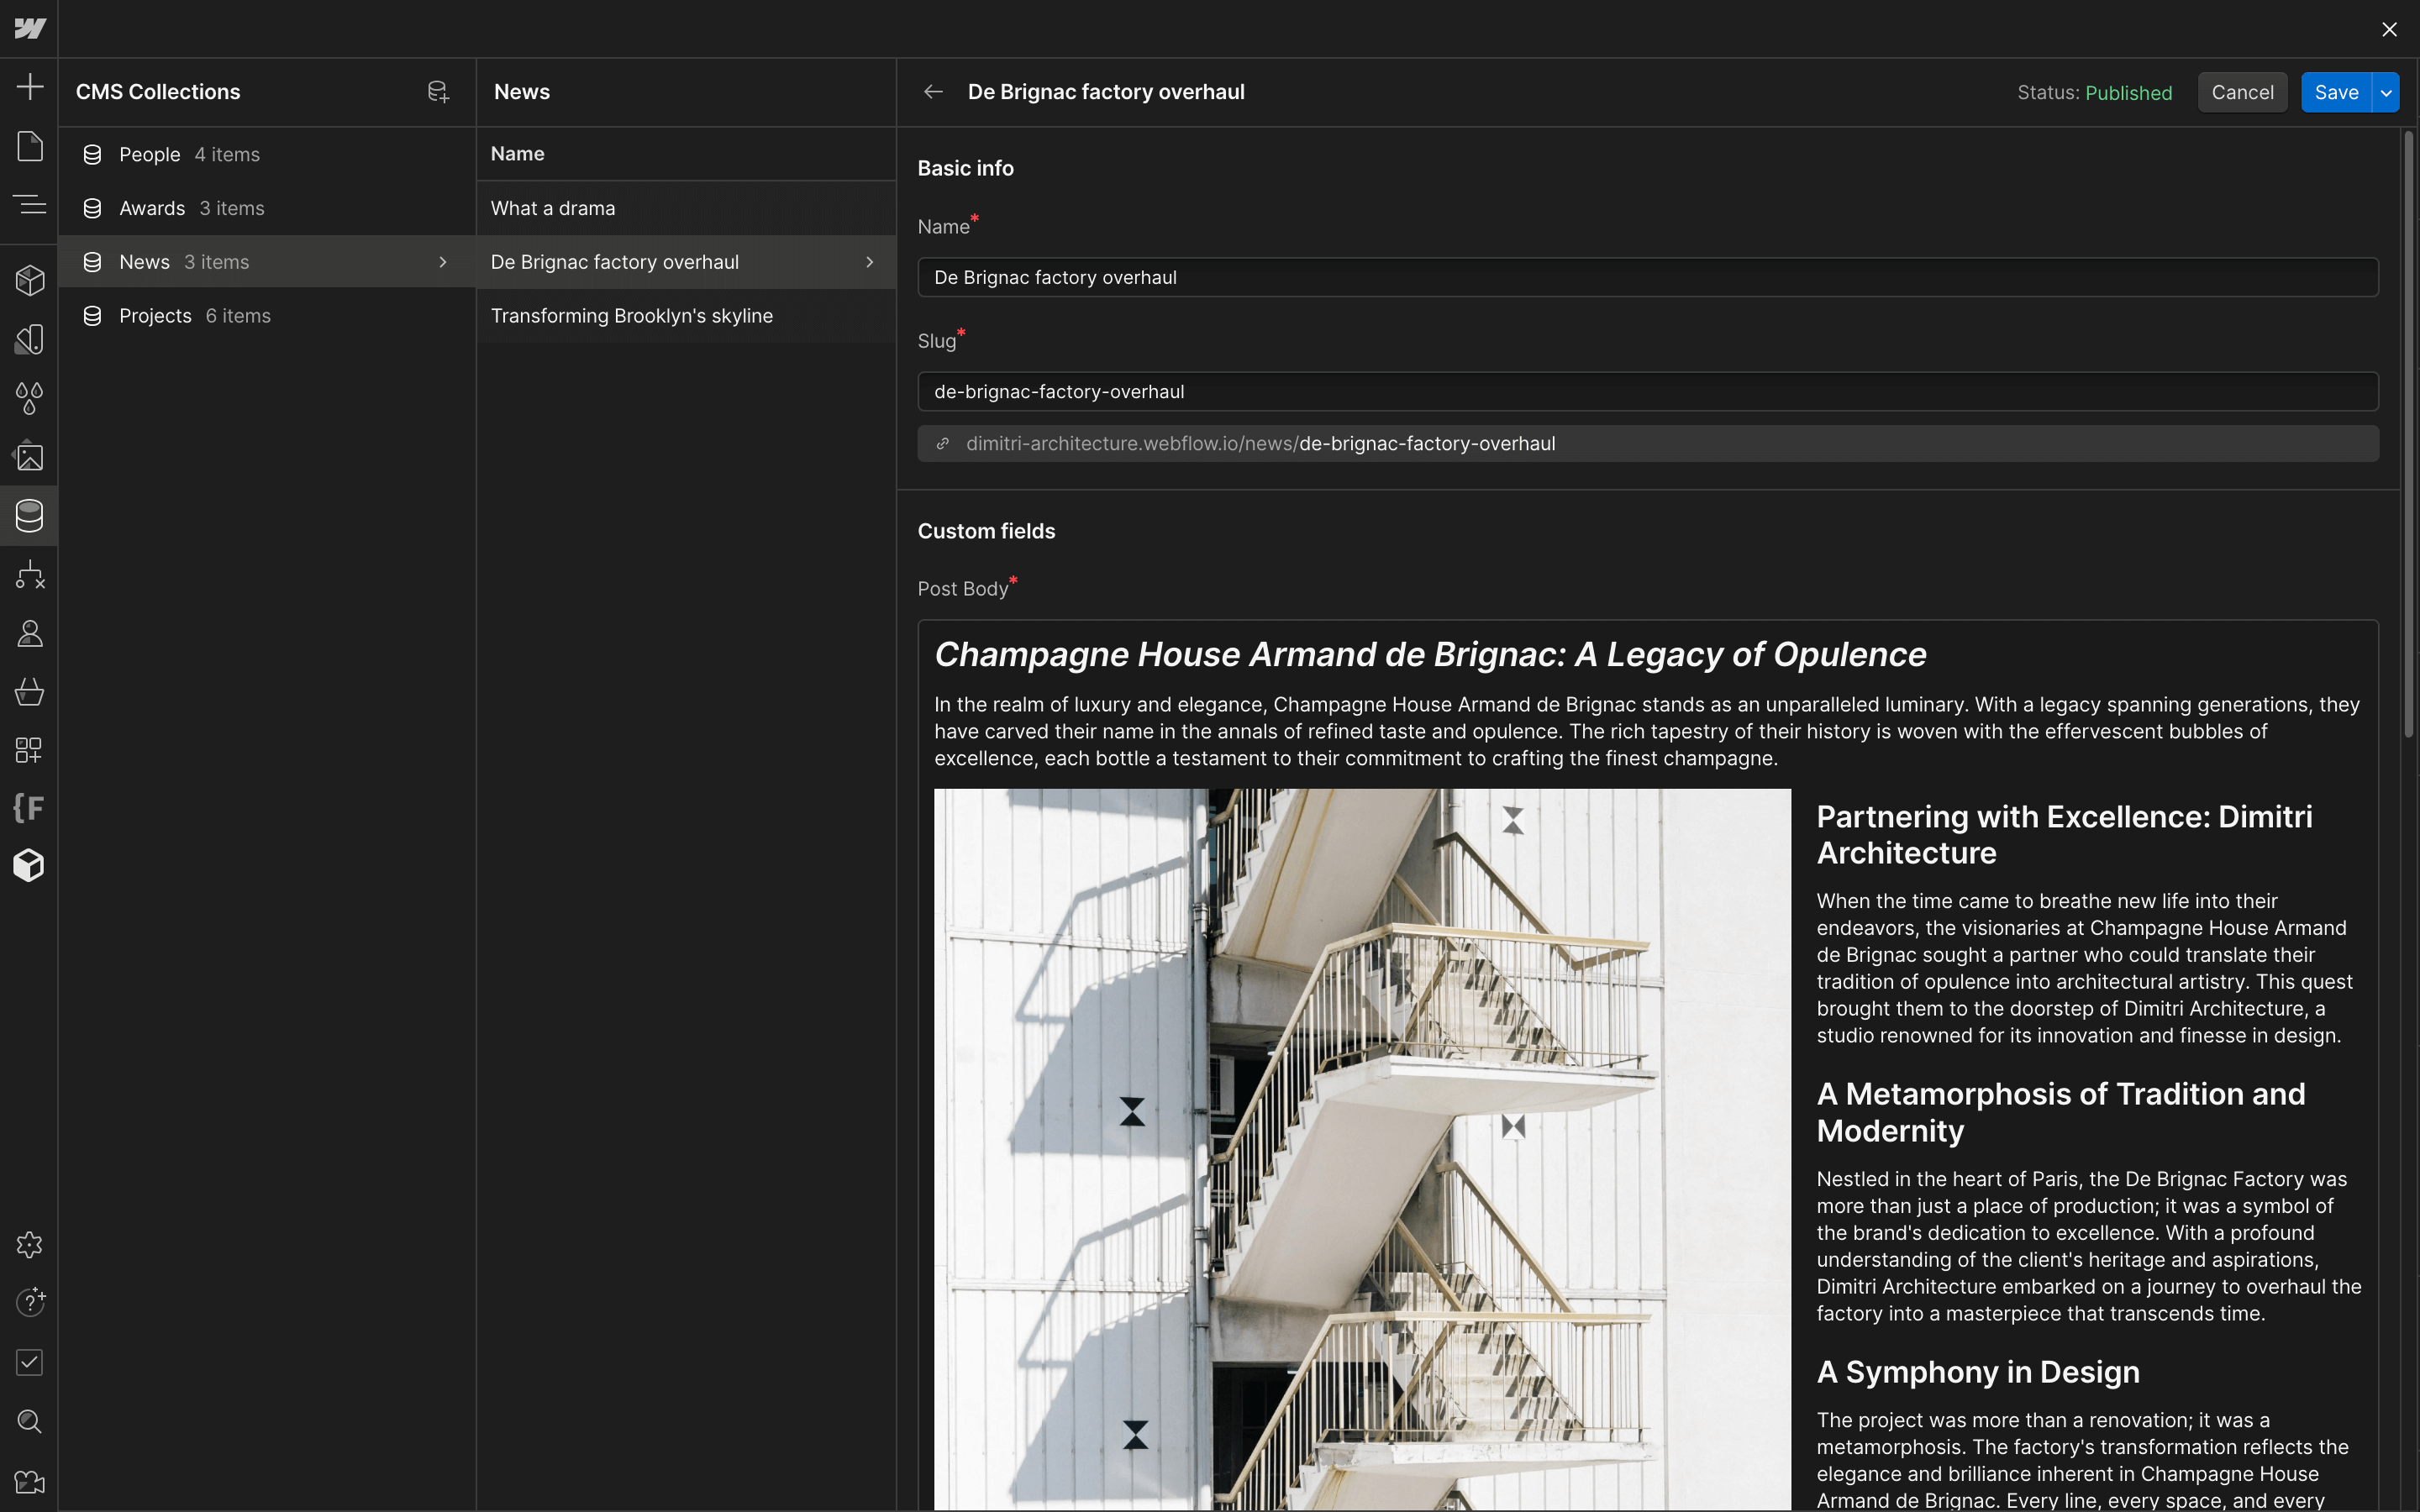
If the template you are using has dynamic content (CMS), for example, blog articles, projects, etc. Go ahead and upload your real content through Webflow’s CMS Collections.
Check your content on all breakpoints
Before publishing your website to any domain, check the website inside Webflow’s Designer on all breakpoints for any unwished alliterations inside the website layout.
Optimise Template SEO Page Settings
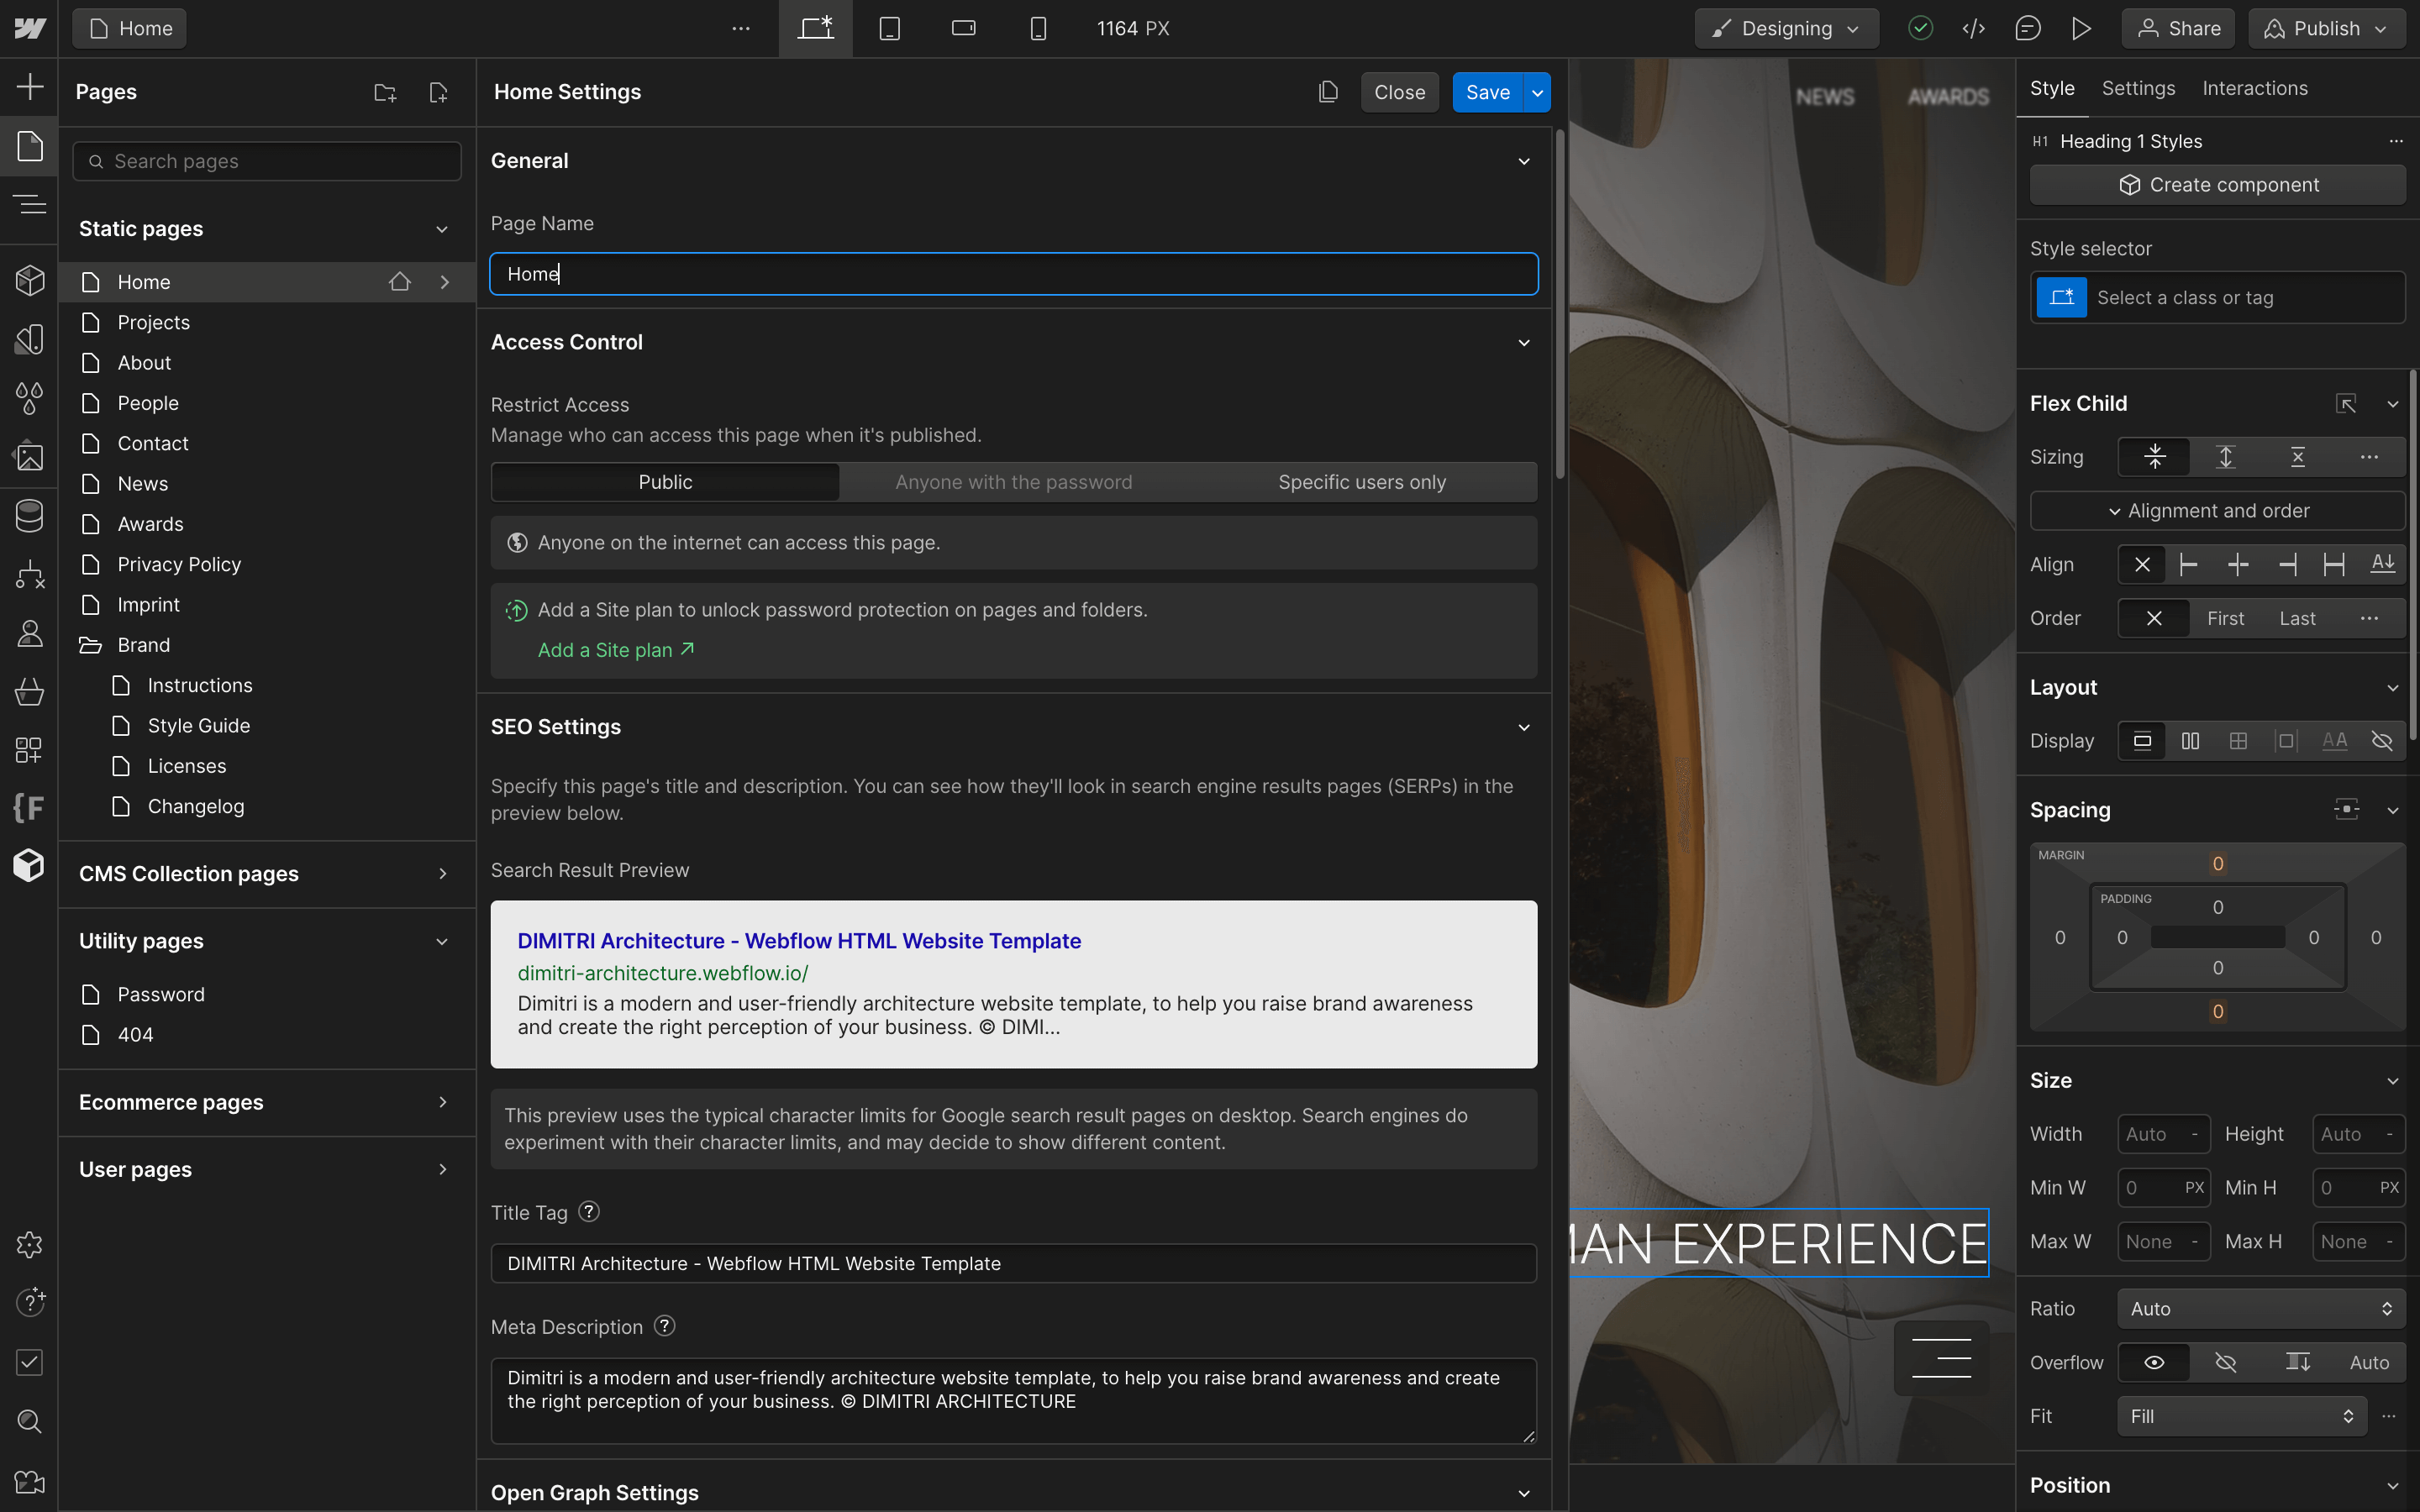
Go into each page's Page Settings, and set up your Page Name, Title Tag, Meta Description, and OpenGraph Image. If you want to adhere to the best website SEO practices, don’t forget to change all alt texts for your assets inside the asset panel.
Choose the right Webflow Hosting Plan for your Site
Once you’ve edited your template content and prepared your website to be published, let’s first publish it to a free Webflow Domain and have a last QA. Once finished, go into site settings -> plans and choose a Webflow Hosting plan that covers your needs.

Connect your Custom Domain and Publish your Site
Under Site Settings/Publishing/Production connect your custom domain to Webflow and publish your personalized website to the production domain, or don’t connect a custom domain and publish the website for FREE.